How to Encrypt Folders with BitLocker Without Any Third Party Tool
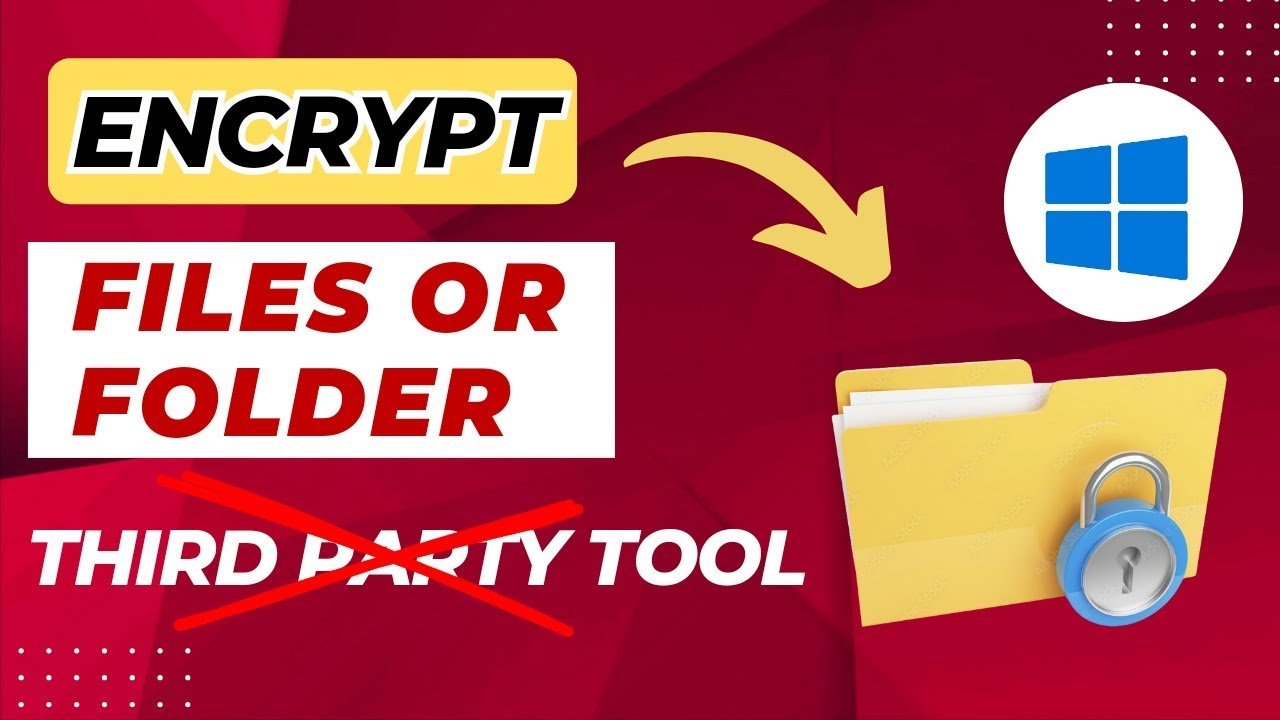
Data security is an essential concern for both personal and professional users. With cyber threats growing daily, knowing how to safeguard sensitive information is crucial. One of the most reliable methods to protect your files is by encrypting them with BitLocker, a built-in Windows feature. This guide will show you how to encrypt folders with BitLocker using a step-by-step approach, ensuring your data remains secure.
Why Use BitLocker for File Encryption?
BitLocker is a powerful encryption tool that helps secure your files and folders from unauthorized access. Unlike third-party tools, BitLocker integrates seamlessly with Windows, providing a secure and efficient way to lock files without compromising system performance. Additionally, BitLocker ensures that even if someone gains physical access to your storage drive, they won’t be able to access your data without the encryption key.
Video Tutorial :
CREDIT : ASOFTCLICK YOUTUBE CHANNEL – Click Here
Step 1: Create a Virtual Hard Drive
Before encrypting your files, you need to create a virtual hard drive (VHD) where your data will be stored. This step involves setting up a secure container for your files.
- Access Disk Management Utility:
- Go to the search bar, type
Run, and hit enter. - Type
diskmgmt.mscand click “OK” to open the Disk Management utility.
- Go to the search bar, type
- Create a Virtual Hard Disk:
- Click on the “Action” menu and select “Create VHD”.
- Choose a location for the virtual drive (e.g., your G: drive) and name it (e.g.,
SecureDrive.vhd). - Set the size of the drive. For this example, allocate 10 GB.
- Select the
VHDformat (not VHDX) and choose “Fixed Size” for optimal performance. - Click “OK” to create the virtual disk.
- Initialize and Format the Virtual Disk:
- Locate the newly created disk in the Disk Management utility. It will appear as “Unknown”.
- Right-click and select “Initialize Disk”.
- Choose the partition style (GPT or MBR) based on your existing drive setup.
- Right-click on the unallocated space, select “New Simple Volume”, and follow the prompts to format the drive. Use the NTFS file system and assign a drive letter (e.g., S:).
Step 2: Enable BitLocker Encryption
Now that the virtual hard drive is ready, you can encrypt it using BitLocker.
- Turn On BitLocker:
- Right-click on the newly created virtual drive and select “Turn on BitLocker”.
- Set a Password:
- Choose “Use a password to unlock the drive” and enter a secure password. Confirm the password and click “Next”.
- Back Up Your Recovery Key:
- Save the recovery key to a file or print it. This key is essential for unlocking the drive if you forget your password.
- Avoid storing the key on the same drive as the encrypted files.
- Choose Encryption Settings:
- Select “Encrypt used disk space only” for faster encryption.
- Choose “Compatible Mode” to ensure the drive works on other devices.
- Click “Start Encrypting” and wait for the process to complete.
Step 3: Using the Encrypted Drive
Once the drive is encrypted, you can securely store files on it.
- Mount the Virtual Drive:
- Navigate to the location of your virtual hard disk file (e.g.,
G:\SecureDrive.vhd). - Right-click and select “Mount”.
- Go to “This PC” and double-click the drive. Enter the BitLocker password to unlock it.
- Navigate to the location of your virtual hard disk file (e.g.,
- Add Files to the Drive:
- Copy or move files into the encrypted drive. Once added, these files are automatically protected by BitLocker.
- Eject the Drive:
- To secure your files, eject the drive by right-clicking on it and selecting “Eject”. The drive will no longer be accessible until remounted and unlocked.
Step 4: Deleting the Virtual Hard Drive (Optional)
If you no longer need the encrypted drive, you can safely delete it.
- Open Disk Management:
- Go to
Run, typediskmgmt.msc, and click “OK”.
- Go to
- Delete the Volume:
- Locate the virtual hard drive, right-click, and select “Delete Volume”. Confirm the action.
- Detach the VHD:
- Right-click on the virtual disk and select “Detach VHD”. Click “OK”.
- Permanently Delete the File:
- Navigate to the location of the
.vhdfile, pressShift + Delete, and confirm.
- Navigate to the location of the
Advantages of BitLocker Encryption
- Enhanced Security:
- Protects files from unauthorized access with advanced encryption standards.
- No Third-Party Software Needed:
- Built into Windows, BitLocker eliminates the risks associated with unreliable third-party tools.
- User-Friendly:
- Simple setup process and seamless integration with the Windows operating system.
- Data Backup Options:
- Provides a recovery key to ensure you can regain access to your files in case of a forgotten password.
Conclusion
Encrypting folders with BitLocker is a secure and efficient way to safeguard your data. By following this step-by-step guide, you can create, encrypt, and manage a virtual hard drive without relying on external software. Protecting your sensitive information has never been easier or more reliable. Take control of your data security today with BitLocker’s robust encryption capabilities.
By applying these steps, you’ll ensure your files remain protected, giving you peace of mind in a world where data breaches are all too common. Start encrypting your folders with BitLocker now and experience unmatched security for your valuable information.


