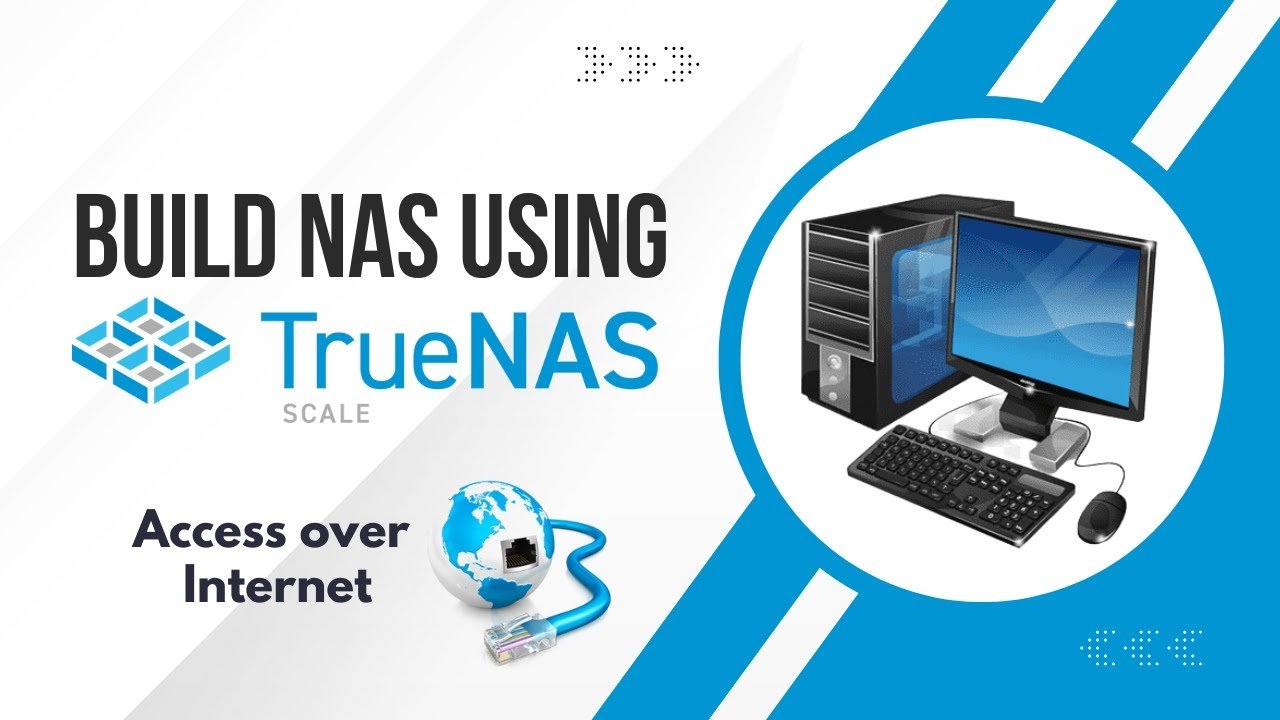
Build NAS With TrueNAS Scale
Creating a reliable Network Attached Storage (NAS) system has never been easier. With TrueNAS Scale, an open-source operating system, you can build a powerful, secure, and versatile storage solution for your home or office. In this guide, we will walk you through the entire process of setting up your NAS, from hardware selection to internet accessibility using Tailscale. Let’s get started!
What Is TrueNAS Scale?
TrueNAS Scale is an open-source, Linux-based operating system designed specifically for NAS solutions. It offers flexibility, scalability, and advanced features suitable for both beginners and seasoned professionals. Whether you want to store files, set up a media server, or share data across devices, TrueNAS Scale has got you covered.
Video Tutorial :
Credit – Techy Druid Youtube Channel Visit Here
Step 1: Gather the Necessary Hardware
Before diving into the setup process, ensure you have the following hardware:
- Computer or Server: Ideally, a system with multiple drive bays. An old computer can be repurposed if needed.
- Storage Drives: Multiple SSDs or HDDs for data storage.
- USB Drive: At least 8GB capacity for installing TrueNAS Scale.
- Stable Internet Connection: Essential for downloading and configuring TrueNAS Scale.
Step 2: Install TrueNAS Scale
1. Download TrueNAS Scale ISO
Head over to the TrueNAS website and download the ISO file for TrueNAS Scale. This file will be used to create a bootable USB drive.
2. Create a Bootable USB Drive
Use Balena Etcher to flash the ISO file onto your USB drive:
- Download and install Balena Etcher.
- Open the application, select Flash from File, and choose the ISO file.
- Insert your USB drive, select it as the target, and click Flash.
3. Boot and Install TrueNAS Scale
- Insert the bootable USB into your computer or NAS device.
- Enter the BIOS settings and set the USB drive as the primary boot option.
- Enable virtualization in the CPU settings if available.
- Restart your system to begin the installation.
In the installation wizard:
- Select Install or Upgrade.
- Choose the drive for installing TrueNAS Scale.
- Set an administrative user and password.
Once the installation is complete, remove the USB drive and reboot the system. After rebooting, your NAS will boot into the TrueNAS Scale Command Line Interface (CLI).
Step 3: Access the TrueNAS Web Interface
To manage your NAS:
- Note the IP address displayed in the TrueNAS CLI.
- Open a web browser on another device and enter the IP address.
- Log in with the username and password set during installation.
Step 4: Configure Storage
1. Create a Storage Pool
- Navigate to the Storage tab and click Create Pool.
- Enter a name for the pool and select a layout (e.g., Stripe, Mirror, or RAID).
- Add the desired disks and click Create Pool.
2. Create a Dataset
- Within the created pool, click Add Dataset.
- Name the dataset and save it. This dataset acts as a folder for organizing your files.
Step 5: Enable File Sharing
1. Add an SMB User
- Go to Credentials > Users and click Add.
- Enter a name, username, and password.
- Enable the checkbox for SMB user and save.
2. Configure SMB Sharing
- Navigate to Shares > Windows SMB Shares and click Add.
- Select the path to your dataset and configure ACL permissions:
- Add a mask entry for maximum permissions.
- Assign read, write, and execute permissions to your SMB user.
- Save the settings and enable the SMB share.
You can now access your NAS on your local network by typing its IP address into File Explorer or a compatible file manager.
Step 6: Access NAS Over the Internet
To make your NAS accessible remotely, we recommend using Tailscale, a secure VPN solution that simplifies connectivity without the need for port forwarding.
1. Install Tailscale
- In the TrueNAS web interface, go to the Apps section and search for Tailscale.
- Select your storage pool and install the application.
2. Link Tailscale to Your NAS
- Visit the Tailscale website and log in using a Google account.
- Generate an authentication key and paste it into the Tailscale configuration on TrueNAS.
- Deploy the application and note the Tailscale-assigned IP address.
3. Access Your NAS Remotely
- Install the Tailscale client on your device (available for Windows, macOS, Linux, Android, and iOS).
- Log in using the same Tailscale account.
- Use the Tailscale-assigned IP to access your NAS from anywhere.
Final Thoughts
With TrueNAS Scale, building a NAS is straightforward and rewarding. Whether for personal or professional use, your NAS can securely store, share, and manage your data across devices and locations. By integrating Tailscale, you ensure safe remote access without complicated setups.
Start your journey today and experience the power of TrueNAS Scale!


1 thought on “Build NAS with TrueNAS Scale: Your Comprehensive Guide”
Pretty section of content. I just stumbled upon your website and in accession capital to say that I get actually loved account your weblog posts. Any way I will be subscribing for your augment or even I achievement you access persistently fast.